Onboard merchants from the agent console
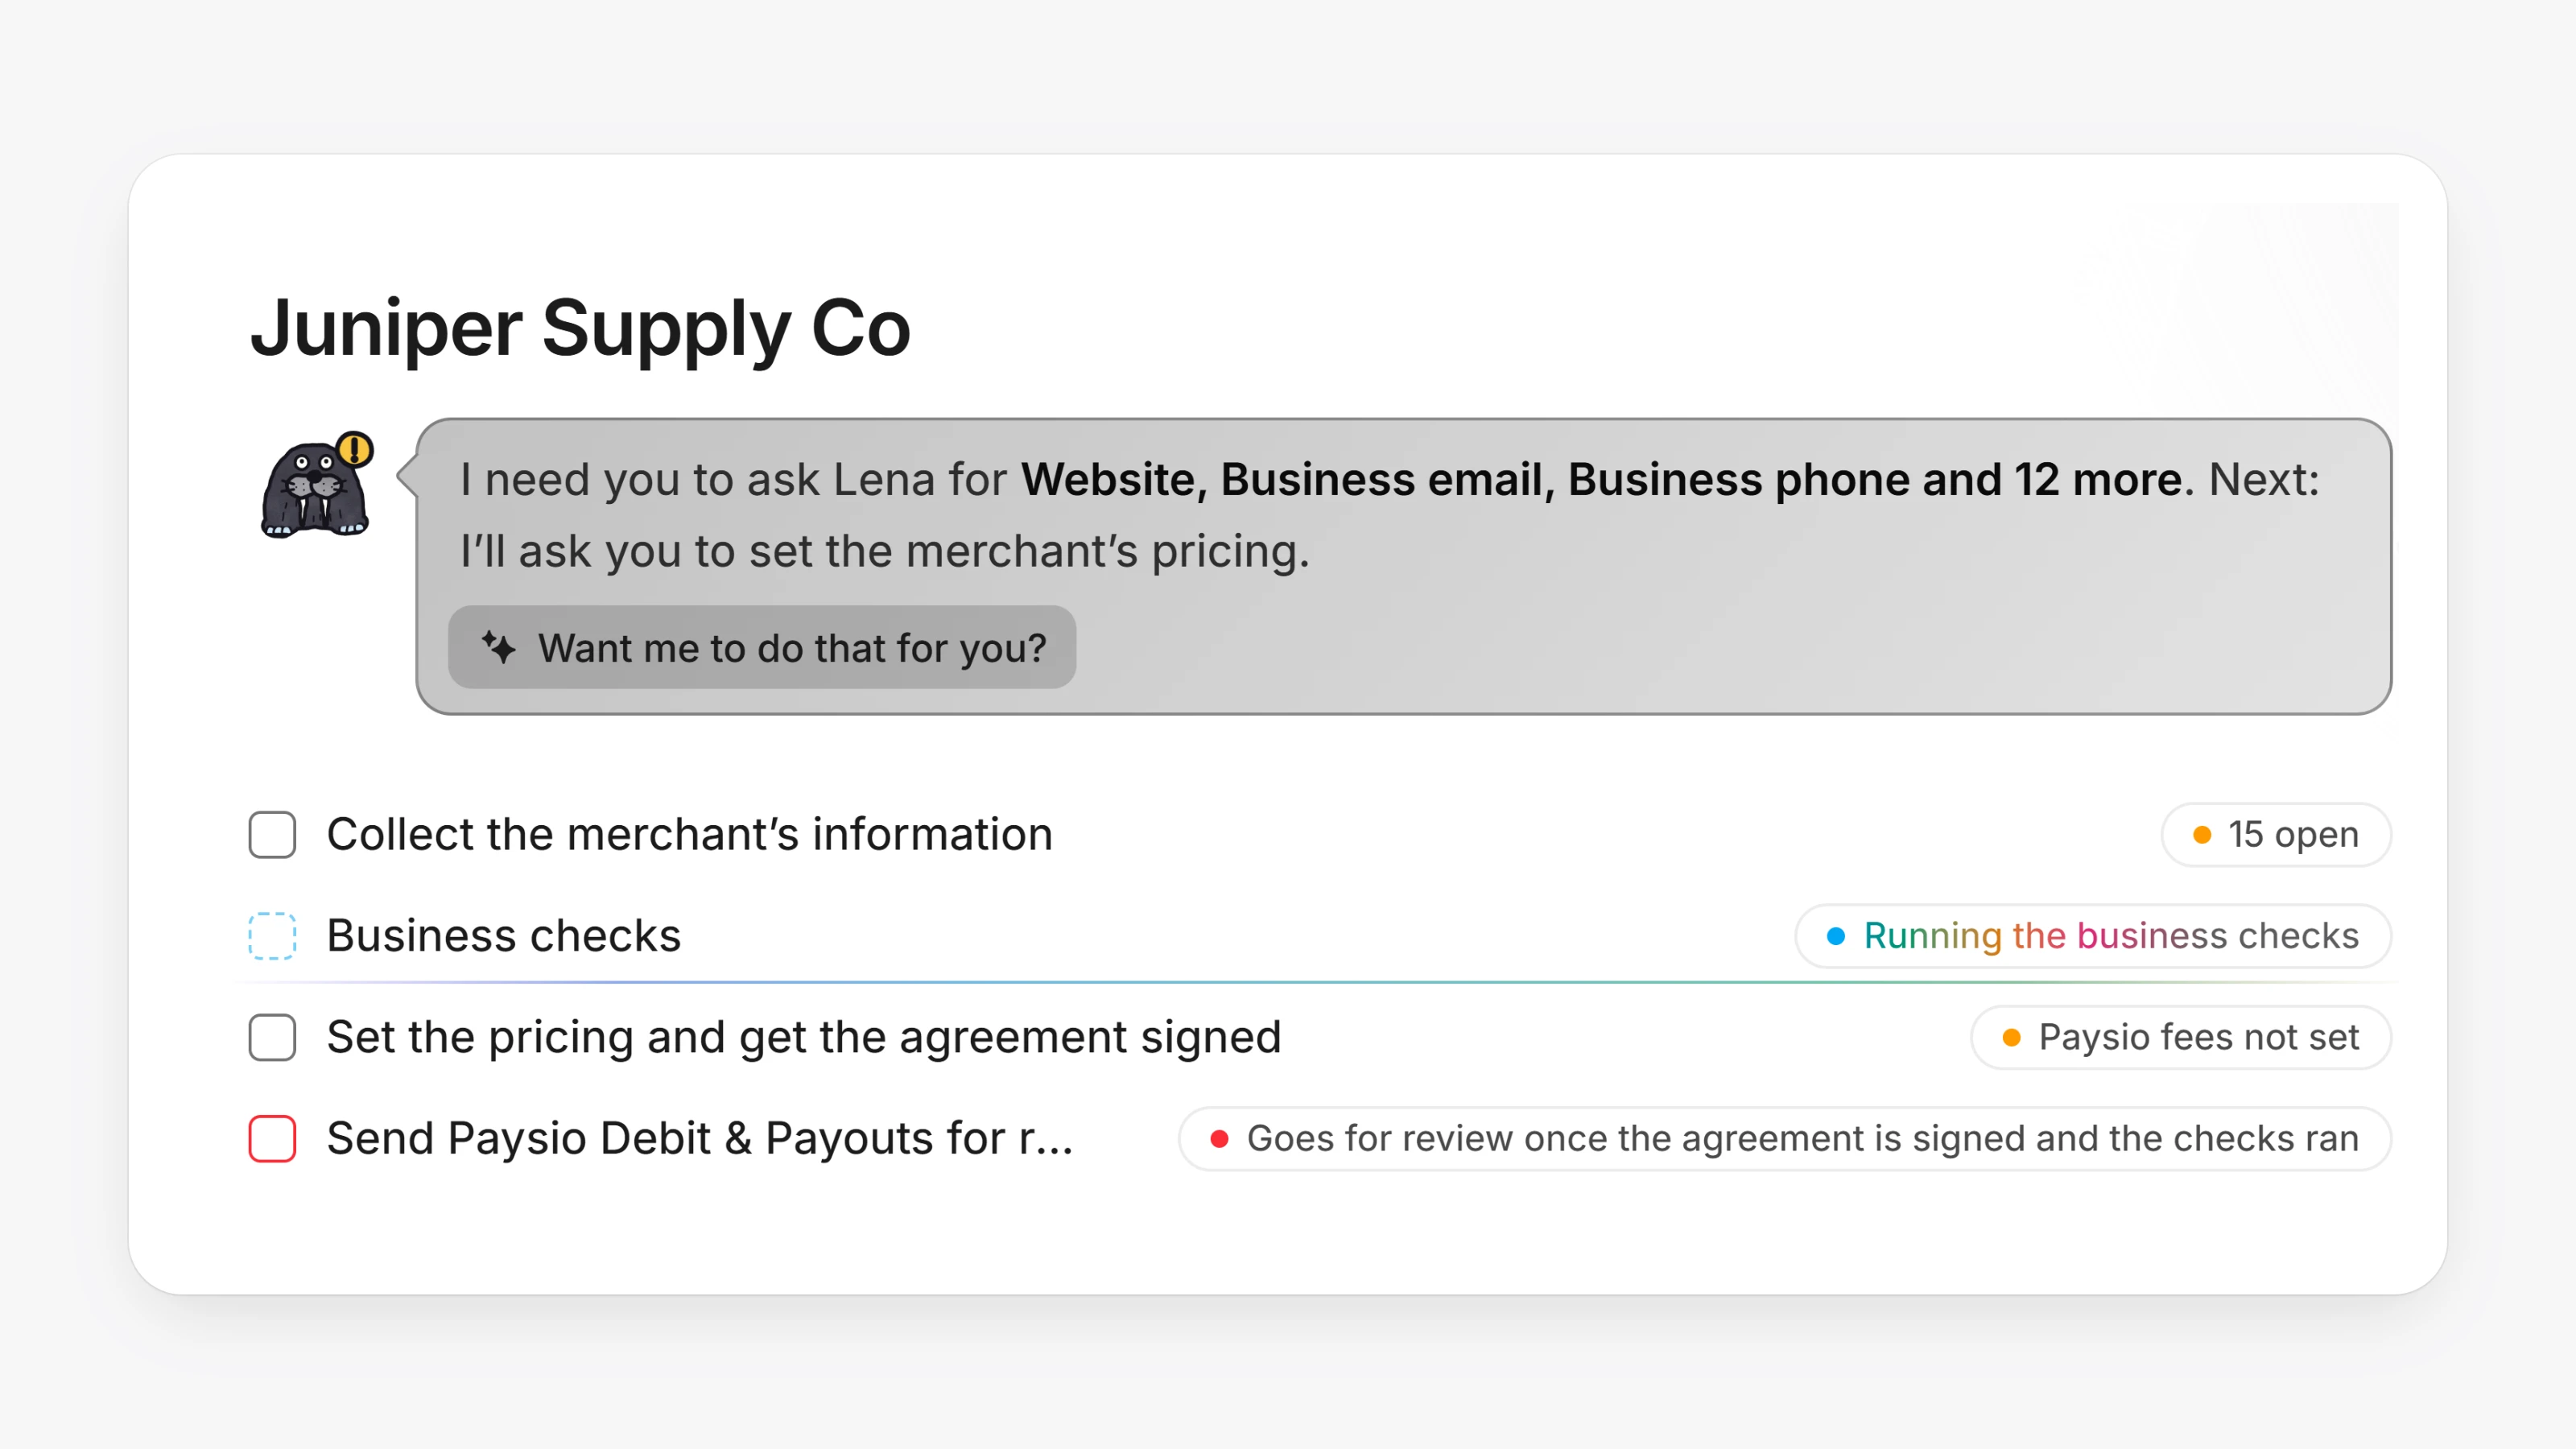
The agent console has a new layout. It now opens on Inbox, which lists every merchant case with what needs doing now. You can act on a case right there, with the case open on the right. Merchants and Onboarding keep their place in the sidebar.
Click New merchant to create a merchant and open its onboarding case. You choose the services, the price sheet from a pricing template, the documents to ask for, and whether the merchant signs on submit. Then you send them the link.
The merchant uses that same link for every step. They fill in the application, fix any answers that were flagged, answer follow-up questions, upload missing documents, review the fees and sign. Once nothing more is needed from them, the link shows where their application stands.
- Each case page shows the case's Activity, Documents, Details and Fees, with status, processor, services and pricing on the side.
- New settings pages: Pricing templates, Agent profiles and Processor contacts.
- Settings now open in a window, like in the merchant dashboard.
- Press Cmd+K (Ctrl+K on Windows) to search merchants, cases and documents.
- Merchants run by a partner see a Partner access section under Settings, then Members. It lists everything the partner's team did in the workspace, and partner access is now read only.